Whether you like to export or transfer your Firefox passwords to a new computer or synchronize your saved data across devices, Firefox offers a set of tools that makes this process as easy as possible.
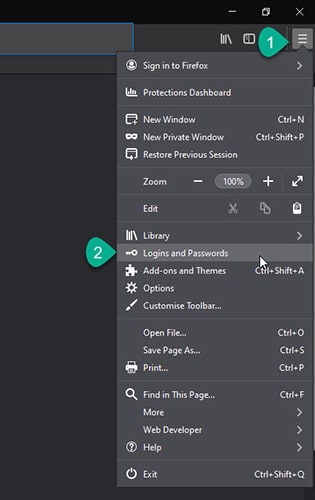
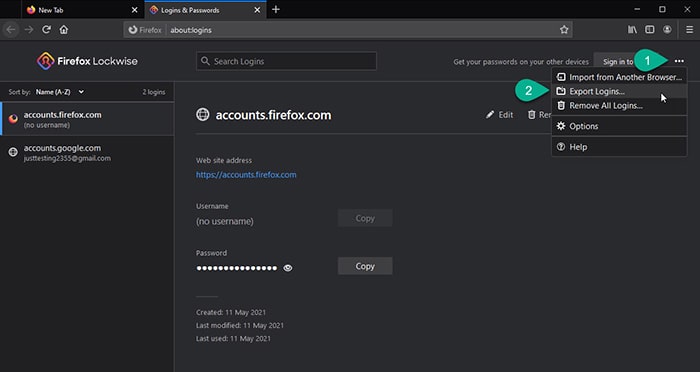
To export your passwords from the Firefox browser, click the Open Application Menu in the top right corner of your browser. Select Logins and Passwords followed by your Primary Password if you have configured one. Select three dots in the top right corner and select Export Logins in the Logins and Passwords section. Confirm your Primary Password and save the CSV file to your selected directory.
Exporting your Firefox passwords to a CSV file may be quick and convenient but keep in mind that the file is not encrypted, and everyone can read it. There are better ways to move your logins and passwords and all other personal data you have saved in your browser, and I will show you them all.
If you prefer a more advanced solution, then I recommend my favorite Password Manager – 1Password. I have been using 1Password for over a year now, and I love it. Although not free, the advanced features it offers fully justify the price in my mind.
Export Firefox Passwords to a CSV file.
1) Open the Application Menu in the browser and click Logins and Passwords.
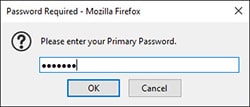
2) Type your Primary Password if you have one.
3) Click on three dots in the top right corner of the browser and select Export Firefox Logins.
4) Read the warning message and press the Export button.

5) Confirm your Primary Password again and select the directory to save the CSV file.
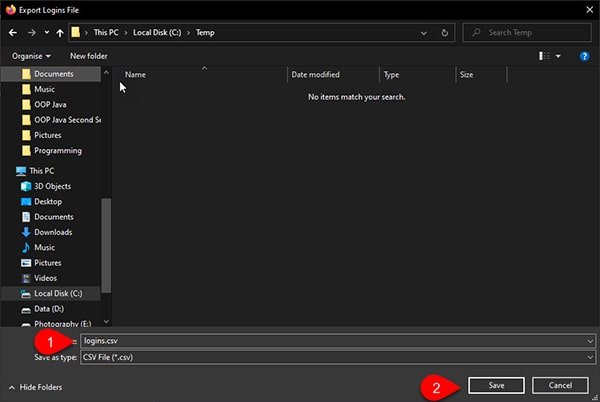
6) You have now exported your Firefox passwords to a CSV file.
Keep in mind the passwords are saved as readable text, and anyone can view them so make sure to delete this file later.

A not long time ago, I wrote another article where I explained how to use Firefox Password Manager or rather Firefox Lockwise as is now known, and posted a video in which I have shown how easy it is to reveal passwords saved in Google Chrome and Edge browser. You should definitely watch it; maybe I will convince you to start using a dedicated Password Manager instead.
Luckily this trick does not work with Firefox, and that’s the only reason I can recommend Firefox Password Manager if you really don’t want to use a dedicated solution like my favorite 1Password, LastPass, or even Sticky Password for that matter.
But there is another more secure way of storing your passwords. There is a chance that your AntiVirus software if you are using one (and you should), offers a Password Manager as a free option, which should be a much better and safer solution than the browser Password Manager.
For example, my Bitdefender AntiVirus software offers a Password Manager, which I have been using a lot before finally switching to Sticky Password and eventually 1Password.
How to transfer Firefox Passwords from one computer to another?
While you can use the passwords from your CSV file to restore them on another computer, the best option is to use the tool Firefox specifically designed for that purpose.
The Synchronization tool available in the browser allows you to automatically synchronize selected data across multiple devices as long as Firefox has been installed on them.
The process is quicker, easier, and much safer. The benefit of synchronizing your files across multiple devices is that any changes made on one device are automatically reflected on the other devices.
Imagine trying to keep all three different devices in sync while using the CSV file.
To synchronize your Firefox account you will need to setup one first.
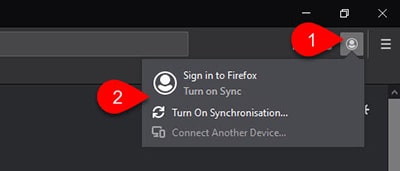
1) Open the browser and press Sign in to Firefox.
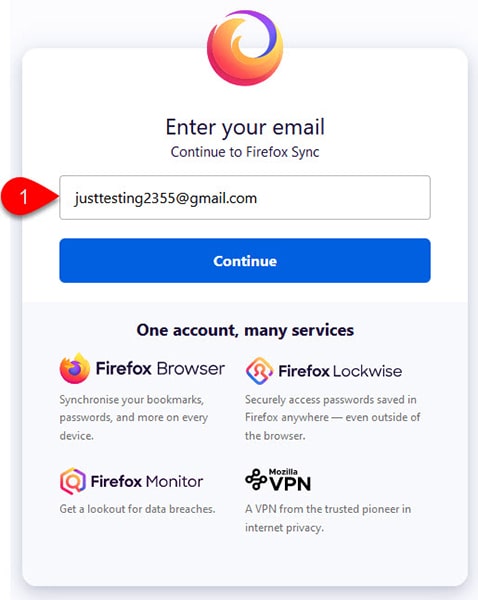
2) Type your Email Address and press Continue.
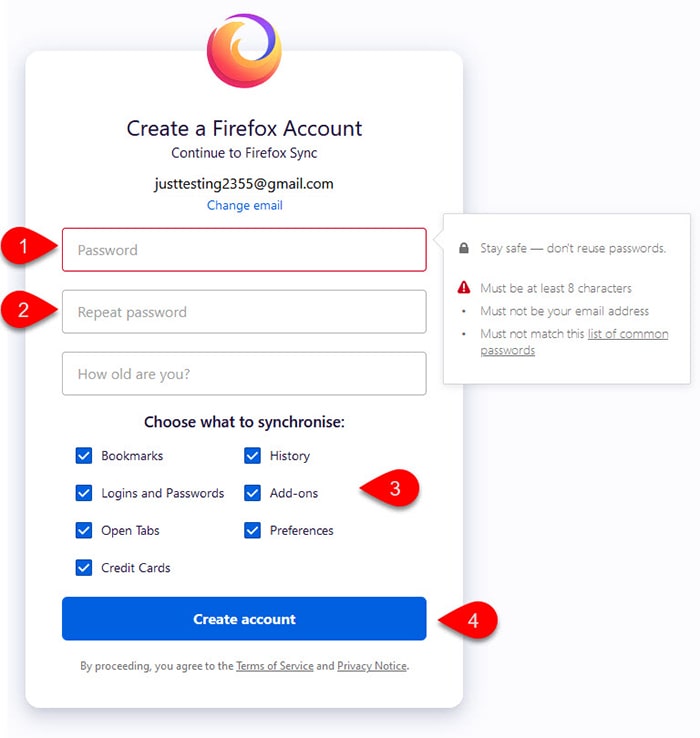
If you never had a Firefox account you will be asked to create one on the next screen.
3) Create a Firefox Account by typing your Password.
Make sure to either leave all the synchronization options checked or uncheck the options you don’t want to synchronize.
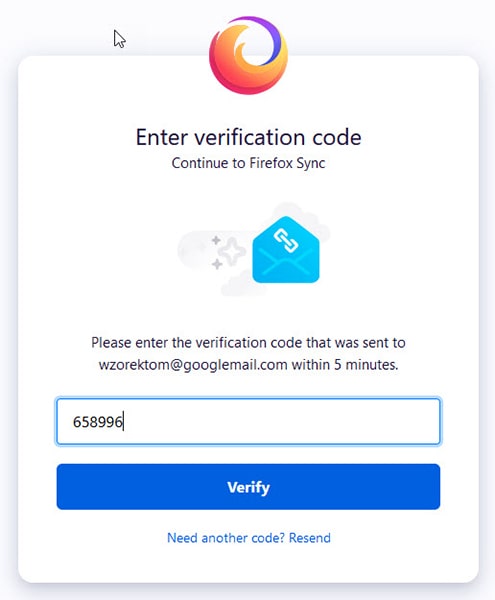
4) Confirm the verification code send to you via email.
Make sure that you type the code within 5 minutes, otherwise, it will expire and you will have to request a new one.
5) Complete the setup by signing in to Firefox on another device.

Keep in mind that the Firefox Synchronization service is not a backup. You will not be able to recover the data until you synchronize with another device, for example, your phone.
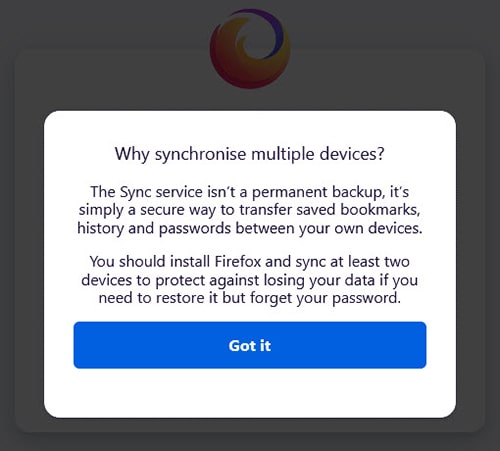
6) Download Firefox on your mobile phone.
Once installed open the browser and press Sign in to Firefox.

7) Press the Ready to Scan button to scan the code generated on your other device.
The Firefox browser on your first device should generate this code automatically for you. If that’s not the case, type https://firefox.com/pair on your other device and press Enter.
You can also click the main menu in your browser on the first device and select Connect Another Device. Press Show Code to display the Bar Code.

Press the Ready to Scan button and scan the code from the browser.
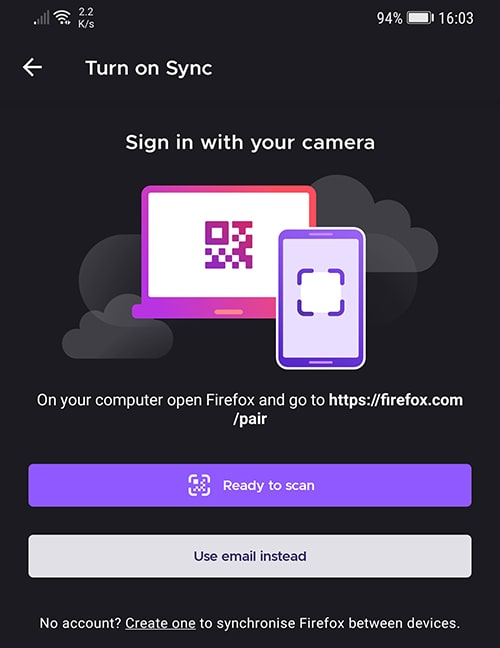
8) Scan the code with your phone camera.

9) Approve the Device on your first device and Confirm Pairing on your mobile Firefox browser.
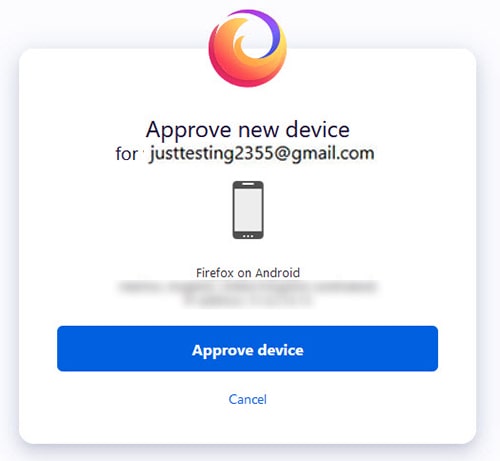
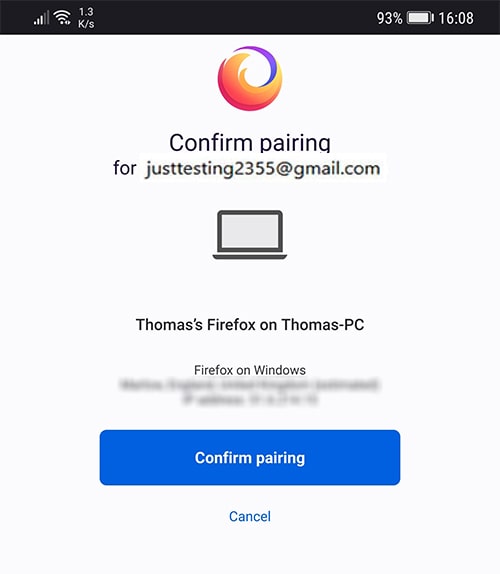
10) Devices are now connected and all data selected by you were synchronized across these two devices.
At that stage, you can manage paired devices by pressing the Manage Devices button. There you can add your profile picture, change Firefox Profile Password set a Recovery Key, or add Two-Step Verification.
You can also unpair devices, for example, when you have lost your phone.
You may also like: What if I lost my phone with Google Authenticator on it?
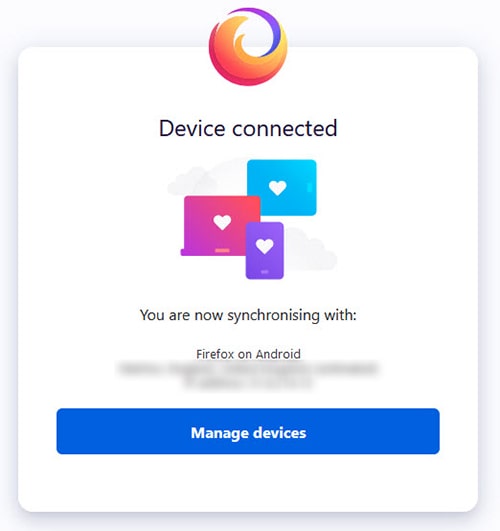
As you can see, Firefox Synchronization is a powerful feature that allows you to manage your data on two or more devices with ease. In an extreme case, it will also allow you to recover your password and all the data, but this is a topic for another article.
How to Import Firefox Passwords to Edge browser using CSV file?
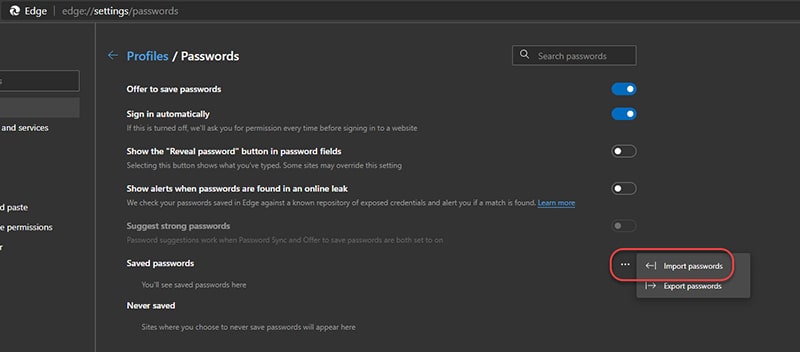
If you were hoping to use the exported passwords CSV file to import them back to the Edge browser, you might be out of luck. Although the browser allows importing the passwords from a CSV file, that functionality is disabled by default.
To enable the Edge Password Import option, type edge://flags/#PasswordImport in the browser address bar and press Enter. Change the Default value to Enabled and Restart the browser.

You should then be able to see the Import Passwords button in your Passwords options.
How to Export Passwords from Chrome to Firefox?
In this case, you actually don’t even need to open your Chrome browser to import the data to the Firefox browser.
Luckily for us, most browsers have one thing in common, they all offer a simple functionality to Import the data from another browser. In most cases, at least all four major browsers are supported, meaning that you don’t need a CSV file when changing the browser.
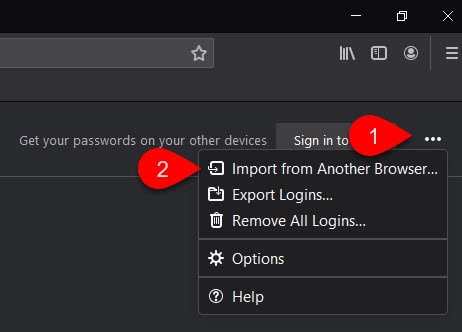
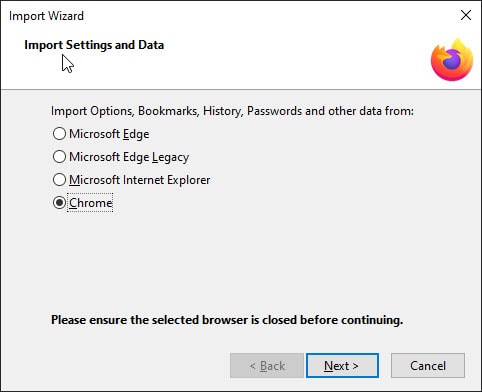
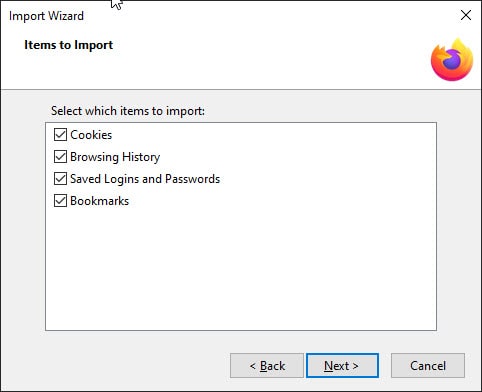
To import your Passwords or Bookmarks from Chrome to Firefox, open the Firefox browser and, under the main menu, select Logins and Passwords or type about:logins in the address bar and press Enter. Click three dots in the top right corner of the window and press Import from another Browser. Select the browser you would like to import data from, in this case, Chrome, and press Next. If you use multiple Chrome profiles, select the one you would like to import and press Next. Select what you want to import, and press Next.
1) Open the Firefox browser and select Logins and Passwords.

2) Click the three dots and select Import from another Browser.
3) Under Import Settings and Data select Chrome browser and press Next.
4) Select your Profile and press Next.

5) Select the items you would like to import and press Next.
You should now see that all your Bookmarks, Passwords, and other data have been imported to the Firefox browser.
As you can see, exporting firefox passwords is not as complicated as you have thought. I hope this article helped you and that you are now an expert in Browser-based Password Management, but if you like to know more, I encourage you to read my other article where I have explained how you can get your Password Management to another level.
